Disadvantages of injection molding
- Injection molds cost 15 to 20 times the cost of a rotational molding tooling due to the high pressures required to manufacture injection molded products.
- Parts tend to be weaker and do not perform as well as rotomolded parts especially in outdoor conditions.
- Part size is limited due to machine capacity requirements. It can be very expensive to tool up and manufacture a large injection molded product.
- There are certain design limitations.
- Short runs are not achievable without paying high setup costs.
Advantages of injection molding
- Good tolerances on small parts allow consistent repeatability.
- Cycle time are short.
- Parts are relatively inexpensive.
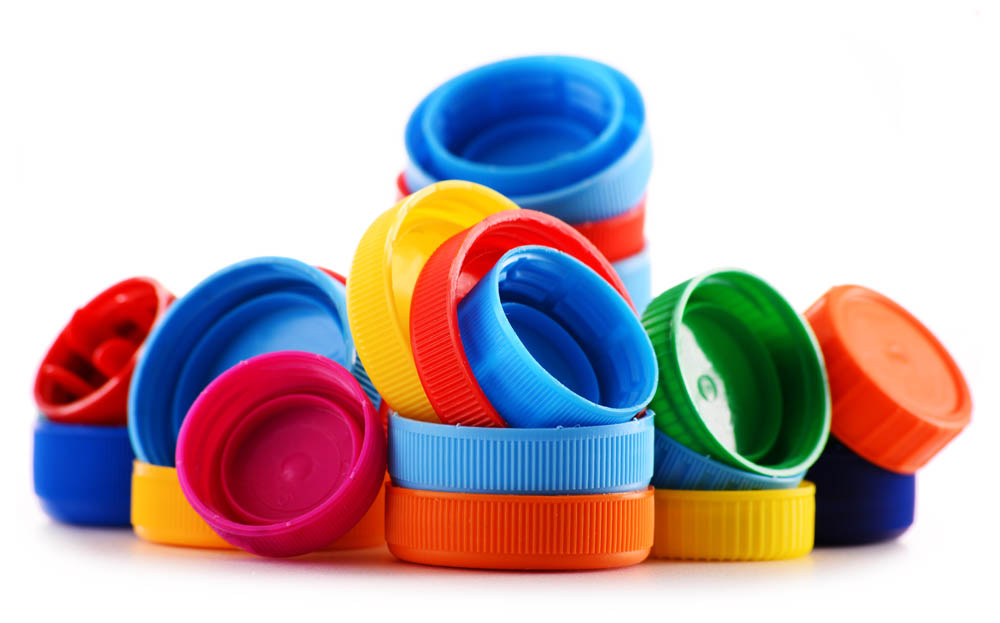
Examples of injection molded products
- Plastic vials
- Bottles
- Thin Wall Cases
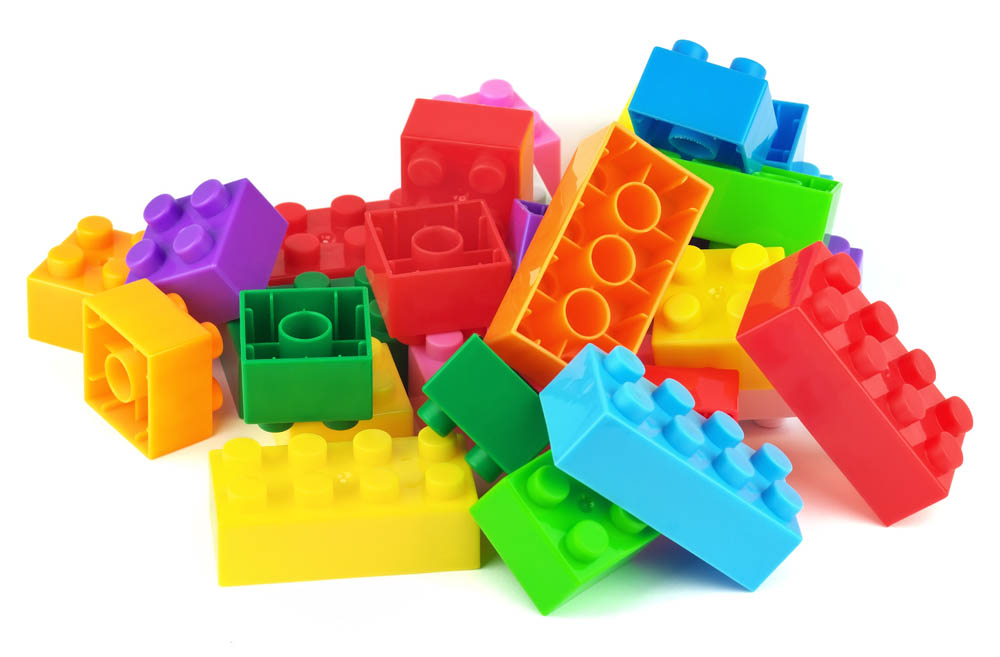
Examples of Injection Molded Products
- Small Toys
- Syringes
- Small Components
- Pallets
- Bottle Caps
What is injection molding?
Injection molding is a process which uses high pressure and force to inject molten plastic resin into a mold. Once the plastic is injected into the mold it is then cooled and ejected In order to handle these forces, a high quality expensive tool is required to produce injection molded parts. One benefit of this process is the low cost to produce a unit when producing several thousand pieces a year. Below is a description of the process in more detail.
The injection molding process is complex, the machine has three main parts. The mold, the clamp and the injection unit.
- A hopper contains the plastic resin in the form of pellets. These pellets are fed into the barrel of the unit which has bands wrapped around it to warm up the plastic pellets as the screw transports them through it. The pellets gradually reach their melting point and become molten by the time they reach the front of the barrel.
- When enough plastic has accumulated in front of the screw it rapidly moves forward in a similar manner to a plunger in a syringe. In this brief period lasting a few seconds, the molten plastic is injected into the mold cavity.
- The cooling phase begins as soon as the mold cavity has been filled. Channels just below the interior surface of the mold carry water to cool the molten plastic resin and mold. This part of the process takes up-to 80% of the cycle time. The liquefied resin begins to re-solidify and take the shape of the mold cavity.
- The mold then opens and the parts is ejected.
Molds consist of at least 2 parts and the where they meet is called the parting line. When looking at an injection molded product you can see a witness mark along it (in most cases). Some designers discreetly place the parting line on the mold so that it is more subtle and cannot be seen. Parting lines are sometimes very noticeable and this is because mold sections never align and close perfectly. Another important aspect of mold design is the addition of a draft angle. If a part has walls which are ninety degrees it is difficult to eject. This is because the walls will drag along the core section of the mold and also create a vacuum. Adding a draft angle of one to two degrees to the part wall will facilitate the ejection of the finished product.